Saturday, March 31, 2012

Garlic Knots


Since I’ve got my professional KitchenAid mixer for Christmas, I just can’t stop making doughs after doughs after doughs in it. Can’t believe how I lived without it. In the short time I’ve had this powerful machine to my disposal, I’ve found that really bad things have been happening to my cravings. Bad things like these fluffy, pillowy white, garlicky bread rolls. Crushed garlic flavored the inside of the rolls and hot oil brushed on top, with lots of garlic and parsley…yummy.


The dough again is simple, basic pizza dough. Just like this:

Basic Pizza Dough

1 pkg. dry yeast
3/4 c. warm water
1/4 tsp. salt
1 T. oil
1 tsp. sugar
3 c. flour

How to:
Mix ingredients together, adding flour last. Cover and let rise 1 hr.

Then, add some crushed garlic, I added so much of crushed garlic, the whole nation of vampires would run away from us. But that didn’t bother any of us. We are garlic lovers. Divide the dough into pieces and roll out into long ropes. Make knots out of ropes and arrange on a cookie sheet. Cover with a damp cloth and let the knots rise again to double the size.

In the mean time, heat up the oven to 400° F. heat up the oil, as much as you want, add more crushed garlic and chopped parsley in hot oil and remove from heat. Liberally spread rolls with it, bake till top is nice and golden, about 20 minutes.

Monday, March 26, 2012

Butternut Squash Fries


Well, what more can I say? I LOVE butternut squash. Such good and nutritious, it could easily be called super vegetable. I have made soup, ravioli and gratin from this squash already. So this time, I have come up with something crunchy and kid friendly. Kids love fries, doesn’t matter what they are made of. You tell them this is fries, they would gobble it down. Fries made out of butternut squash and sweet potatoes are healthier and much better than potatoes. I like the sweet note in these 2 kinds of fries.


I saw bags of frozen sweet potato fries in my local food store and I thought why not try fries out of squash? This was my first try and it really came out so good, so crispy on the outside and moist in the inside…heavenly. I know I will be making this dish often now as I always keep at least one butternut squash handy in my pantry.


Butternut Squash Fries

Ingredients

1 medium squash, deseeded, cut into slices
Salt and pepper as needed
Paprika as needed
¼ cup olive oil
Parsley for garnish


How to:

Heat oven to 450° F.
Toss squash pieces with oil, salt and pepper and arrange evenly on a cookie sheet.
Bake for about 20 minutes, flip the sides and bake for further 20 minutes or till done.
Sprinkle with paprika and parsley.
Serve with your favorite condiments.

Thursday, March 22, 2012

Quick Gajar(Carrot) Halwa

Well, this is nothing new..everybody makes gajar halwa, right?! Everyone has their own version of this halwa. Mine used to be mom’s version which was by far the best. And then I thought, I could use the time that I spend for cooking and stirring the raw carrots and all that milk to do something else like watching TV, put my feet up and relax at the end of the day! So I came up with this. 24 minutes from start to finish. From shredding carrots to plating halwa in a bowl for pictures..24 minutes folks! I made this for my father-in-law’s birthday dinner. They were coming over to my place for dinner and I was making my masala chicken biryani with all the add-ins. I couldn’t seem to agree in my mind on the dessert. I didn’t want to make sugary dessert for him. I was talking to my friend on the phone the night before and she said she is making gajar halwa for her husband and it hit me right there. I thought, yes, gajar halwa..with all the natural sweetness of carrots, I don’t need to add much sugar and it is healthy as far as I refrrain from adding more ghee! This was one delish treat for all of us. Got the rave reviews from my in laws!


Gajar Halwa

Ingredients

4 cups shredded carrots
½ cup sugar(or to taste, keep in mind the sweetness of carrots as well)
1 pinch of cardamom powder
2-3 tbsp ghee
¼ cup milk
¼ cup khoya(optional, if you don’t have khoya, use milk powder with a bit of milk)
Chopped almonds, pistachios for garnish(optional)

How to:

Cook shredded carrots in microwave for about 6 minutes or till almost cooked.
Now transfer the carrots to the sauce pot.
On medium heat, cook carrots with sugar till sugar dissolves and leaves no residues.(at this point, check the sweetness, you can add more sugar if you want to.)
Now add khoya(if using), milk, cardamom powder and cook till milk evaporates.
Garnish with chopped nuts and enjoy warm halwa.

Monday, March 19, 2012

Cilantro Omelet(Chilas)


This is the easiest recipe out there. Only a few ingredients, mix them up, spread on a skillet and boom, in a matter of minutes, you would have a nicely golden, crispy omelet. This can be eaten as it is or stuffed with whatever filling strikes your fancy. I also top it with pasta sauce, cheese and other pizza toppings, bake till the cheese is bubbly and eat it as pizza!


When I saw Julie's cilantro and cumin event, I knew I will either go Mexican or Moroccan! And look where I ended up! Right at home! This is a very common dish in Gujarat. I remember fondly that childhood memory when mom used to make this as late Sunday snack with tea. Here too, whenever I see cilantro is starting to go bad, which happens often as I normally get a huge bunch every time I shop for groceries, I make either Cilantro pesto(chutney) or this omelet. I sometimes use lots of methi(fenugreek) or spinach also but cilantro is the common choice.


Cilantro Omelet

Ingredients
3-4 cup loosely packed cilantro leaves,washed
2 cups besan
Salt to taste
½ cup yogurt
water as needed
1 tsp sugar
A pinch of turmeric powder
Red chili powder per taste
Oil as needed
1 tsp cumin seeds(roasted and powdered)
2-3 green chillies, chopped

How to:

Mix ingredients with water to form a pancake like batter.
Heat up a non-stick skillet.
Spread a ladleful or 2 of batter, spread in circle.
Drizzle oil all around the pancake. At this point, you can top it with pizza toppings, and fold over to make pizza pockets.
Flip on the other side, cook it as well.
Once done, serve with cilantro pesto, or shaved coconut.

This is my entry for Julie's herbs-spicesevent


Thursday, March 15, 2012

Homemade Kasoori Methi(Dried Fenugreek)


We all use tons of kasoori methi in our cooking I am sure. I use it for every chicken dish I prepare(Indian of course!), all the paneer dishes, punjabi curries and daals have kasoori methi in them. I absolutely love the flavour. I don’t know how much I have spent over the years to buy the packaged kasoori methi. Last couple of times I bought the packages, they have more stems than leaves and I noticed a few tiny pebbles in them as well. I asked mom to send me some from India and she was like, are you kidding me?! You guys get better stuff here than we do in India! So I was forced to make my own kasoori methi which is another interesting story. I had bought a fresh bunch of methi one Saturday and it was lying in my fridge for over a week. Thankfully, the leaves didn’t go bad at all. I had my menu ready for next week so again, I wasn’t able to use methi leaves. I didn’t want to stash them in the freezer as I already have a few packages of frozen methi in there. So I thought let me try to dry them and see how it goes. If it works, great. If it doesn’t, I only have to lose 99 cents! And I washed the leaves and dry them in microwave and bingo! Got myself kasoori methi! The aroma and the richness of the color were so amazing, I don’t think I will ever go back to buy the packaged stuff again. I instantly called mom in India and told her my success story and ask her to make her own kasoori methi as well! Fortunately for me, the local store had methi on sale, 2 bunches for $1 and yes, you guessed it right! I rushed to buy fresh methi just to dry it out!


I ended up with quiet a good amount of dried methi out of one bunch. Try for yourself friends. I am sure you will never ever go for the store bought stuff again.

Fresh methi
Wash the leaves, shake off the excess water, place them in microwaveable plate. Microwave on high for 2-3 minutes, then turn the leaves around and proceed till you get nicely dried methi leaves.

Dried Methi

Friday, March 9, 2012

Portobello Mushrooms Lasagna

Portobello or Portabella? Well, it is a personal preference. It is the same product, same fungus that we love to eat. We love any kind of mushrooms. Because of the nutritional values of the mushrooms, I try to incorporate them in our diet often. I’ve made Portobello burgers, steaks, steak sandwiches so on and so forth. This time I just layered the mushrooms, cheese and marinara to create the lasagna. It was lip smacking delish. My son who is a big meat lover, commented that he wouldn’t miss meat a bit. And that he liked it very much, he could eat this everyday kind of likeness you know! What more a mother want when her child willingly eat vegetables? He knew I sneaked in spinach, shredded zucchinis etc in the marinara sauce. But then I loaded the layers with cheese and cheese did make everything tasted so much better. The unique taste and texture of mushrooms did stand out also.


Here’s what I did.

Portobello Mushrooms Lasagna
Serves 3

Ingredients
6 large Portobello mushrooms, gills removed(or more depending on your appetite!)
2 cups Marinara sauce
1 cup ricotta cheese
1 cup shredded Parmesan cheese
1-1/2 cup shredded Mozzarella cheese + ¼ cup extra
Salt and pepper to taste
1 cup shredded zucchini
½ cup thawed and drained spinach

How to:


Preheat the oven to 400° F.
Clean the mushrooms, place them on the cookie sheet and roast in the oven for about 10 minutes or till tender.
Mix veggies with marinara sauce.
Sprinkle salt and pepper on the mushrooms.
Mix all 3 cheeses.
In oven proof shallow dish, spread some sauce, then mushroom.
Top mushroom with cheese mixture.
Top with more sauce, another mushroom, cheese and sauce.
Top with extra mozzarella cheese.
Place in the oven, bake till sauce is bubbly and cheese is melty to a nice golden color.
Serve with your favourite garlic bread.

Sunday, March 4, 2012

Rosemary Garlic Butter Rolls


Who doesn’t like Cinnamon rolls?! Everyone loves it,right? Well, some people don’t and my hubby is one of them! He could only eat once or twice a year, that’s it. He can’t stand the aroma of cinnamon. I still make it and make him eat a roll or two. He would eat it but I could literally ‘read’ how unpleasant experience he goes through every time he bites into the roll! It’s written all over his face. So this time around, I decided to make a different roll for us. I was sure he would definitely love this one. And he did, indeed.


The idea is the same. Instead of sweet and cinammoney, this roll is savory and garlicky. The herbs and Parmesan cheese add that extra punch to the rolls. After having made this roll the first time, I knew I’ve found a keeper recipe. And I also knew that I will be making more of these rolls and less of those rolls!


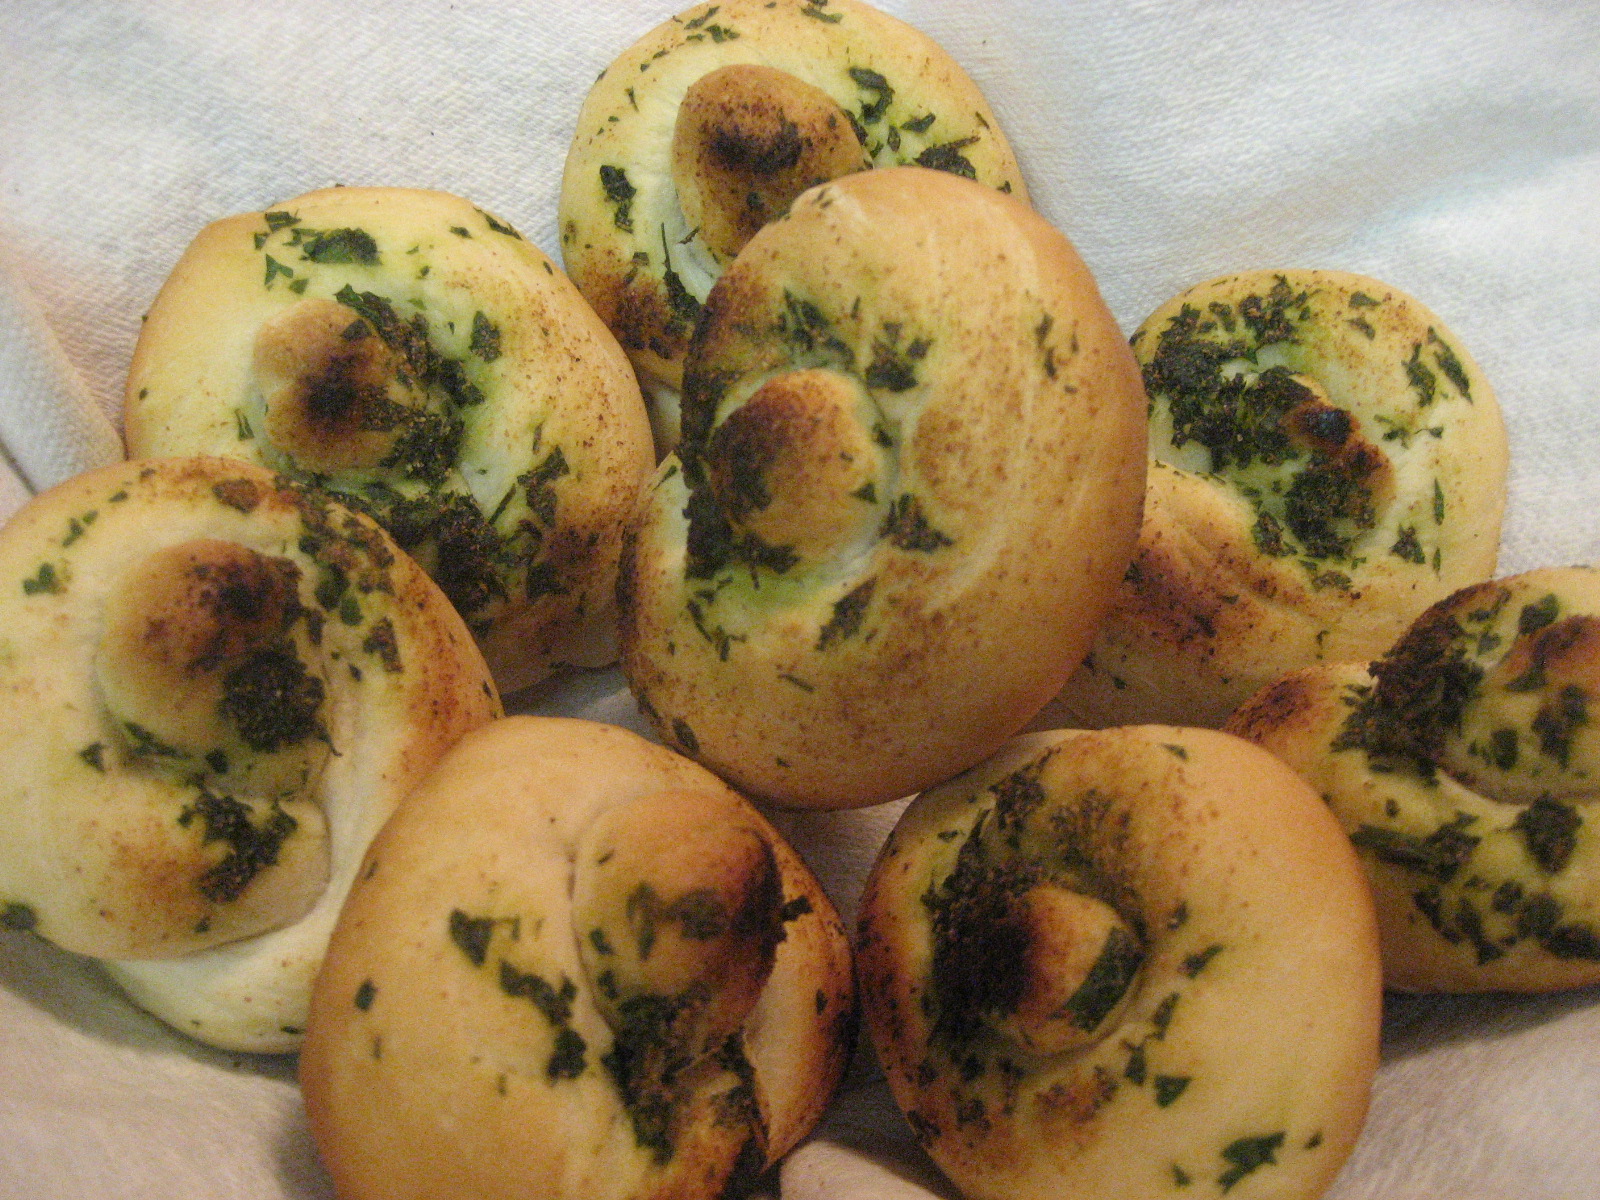
These rolls are good with pasta or as a snack on its own. They are so flaky, buttery and yet, delightful. Give it a try sometime. You will be amazingly pleased with something so common like garlic rolls and yet, so new.

Rosemary Garlic Butter Rolls
Ingredients
2 cups AP flour
1 tbsp yeast
½ cup warm water(up to 180° F temp.)
Salt to taste
2 tbsp oil

3-4 cloves garlic
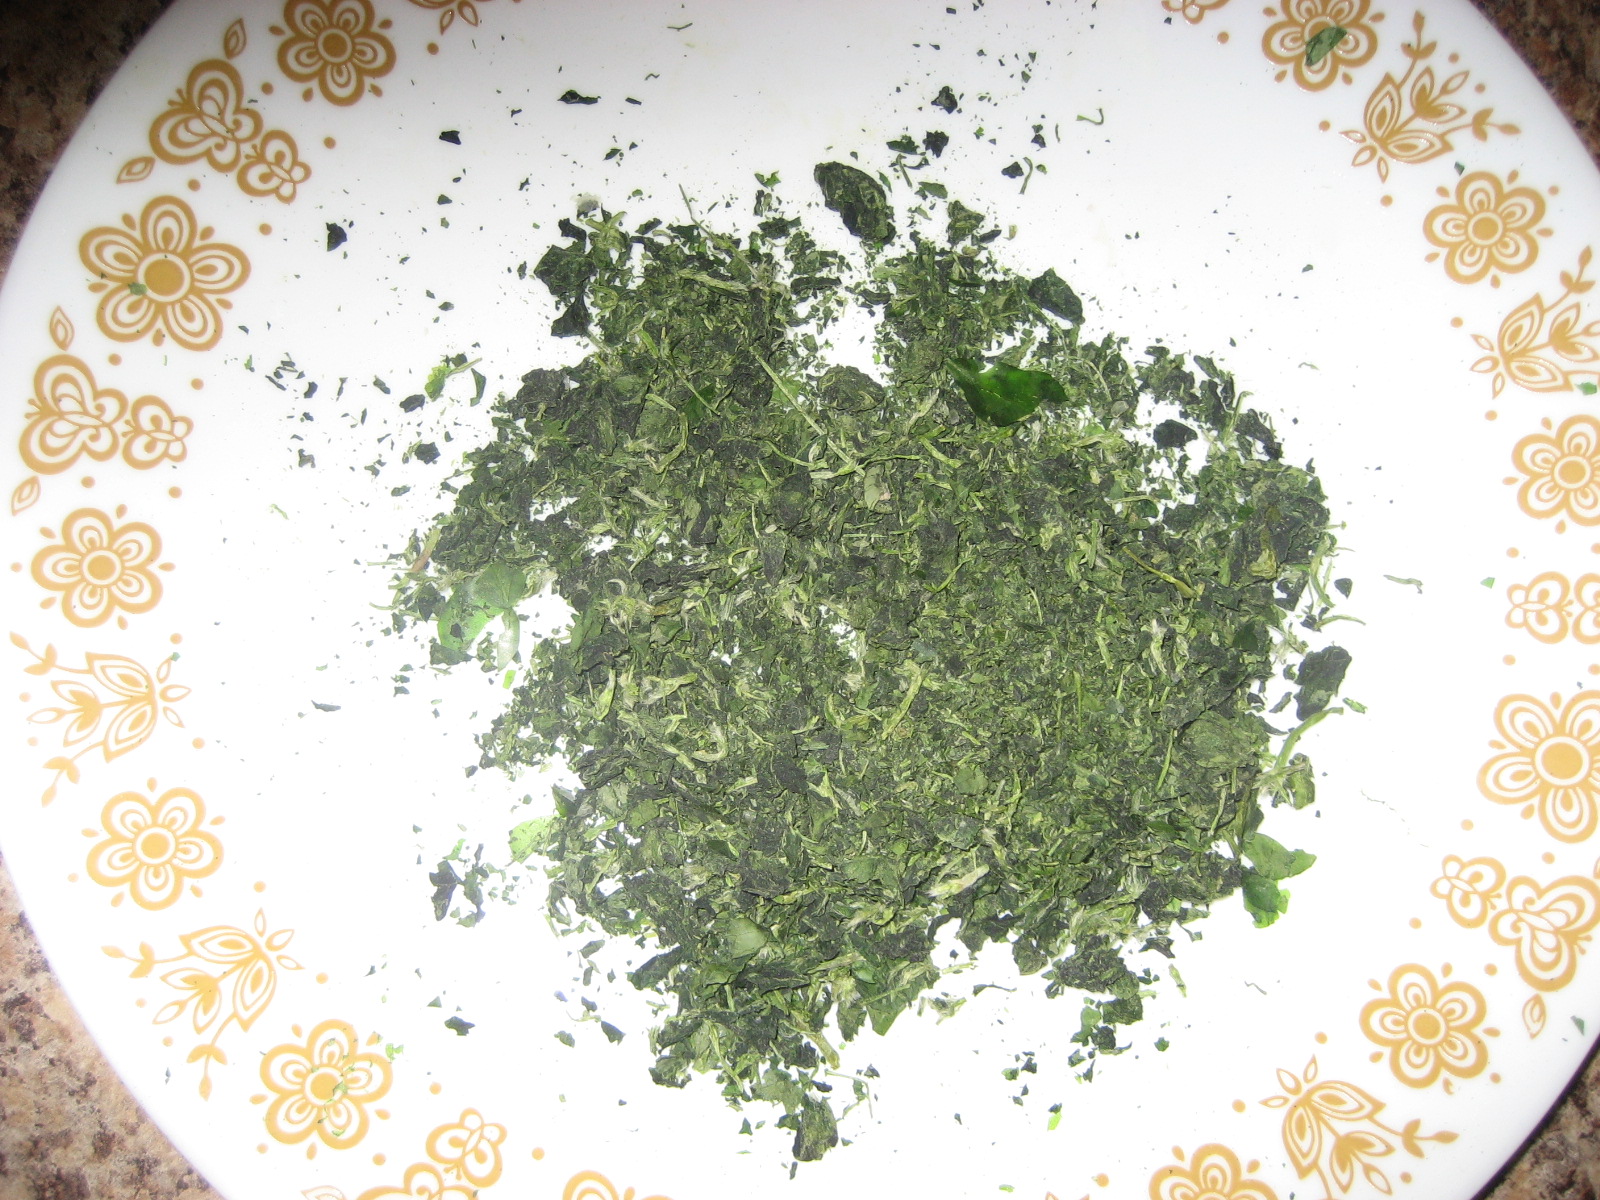
1-2 sprigs of Rosemary
½ cup shredded Parmesan cheese
¼ cup olive oil

How to:
Prepare the dough using first 5 ingredients.
Let it rest covered in a warm place till double in size, for about 2 hours.
Punch the dough down and roll in a 12”X12” rectangle.
Crush garlic, rosemary with oil in a mortar and pestle or in a food processor.
Spread on the dough sheet.
Sprinkle with Parmesan cheese.
Roll as tightly as you can.
Cut into 12 pieces.
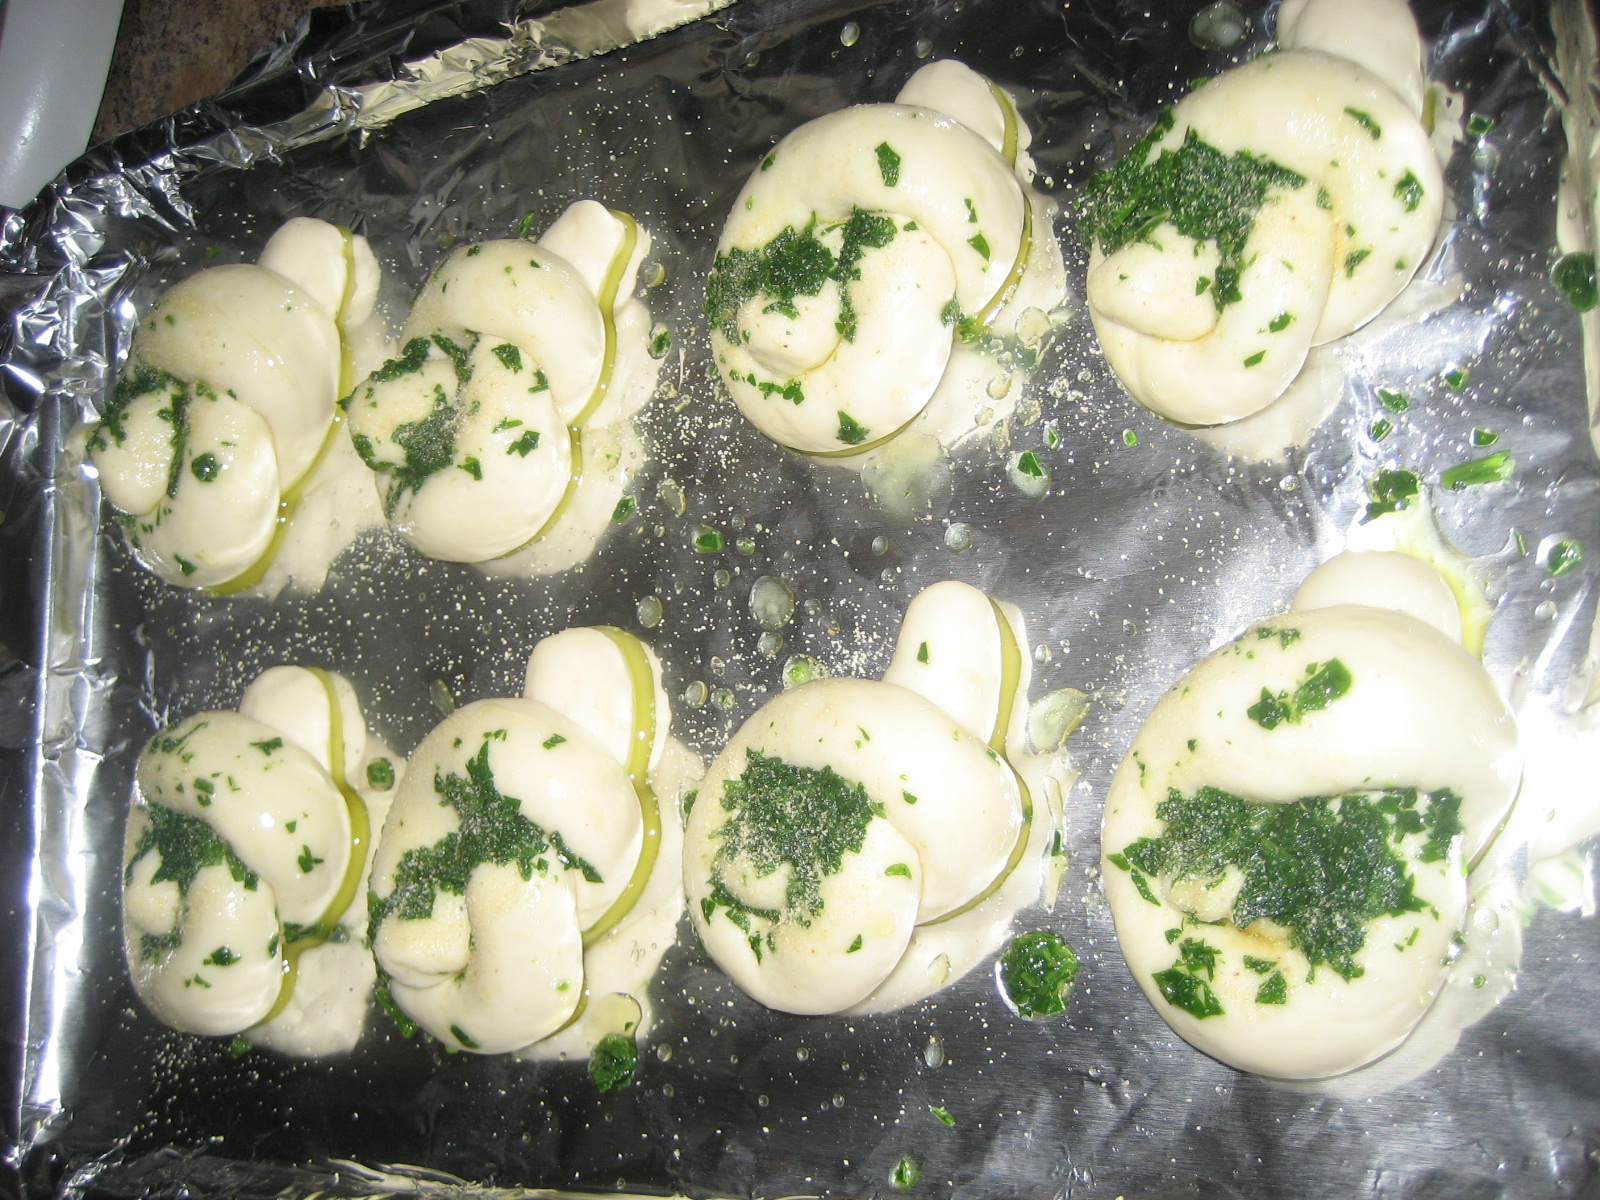
Place on a greased cookie sheet and cover again with a towel and let it rest for about 30 minutes.
At this point, you can sprinkle some white sesame seeds for garnish. this is totally optional.
Preheat oven to 425°.
Bake the rolls for about 20 minutes or until the top is golden brown.
Enjoy!